How to make a wedding web site
Sheldon Cooper
2 years ago
create wedding websit
create a free website
create a wedding event
how to create a wedding website
free wedding website
simple wedding websites
Wedding management
list of wedding website
wedding website graphics
RSVP wedding event
Wedding dinner
Wedding Timer
Wedding counter
Events
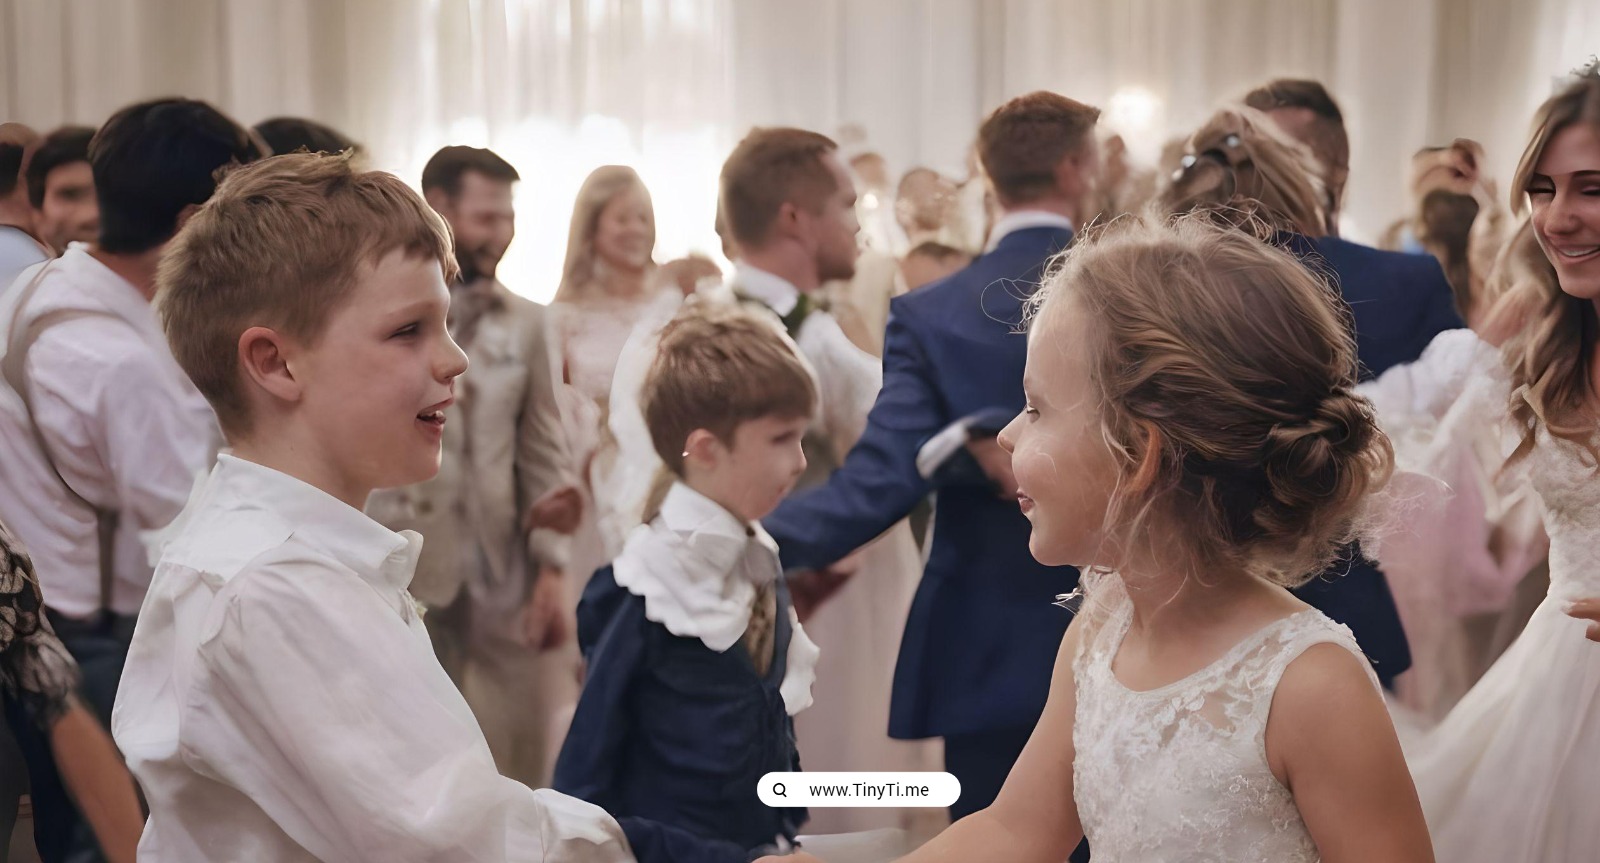
Creating a wedding website can be a delightful and practical way to share your journey with friends and family. As a web developer, I'm here to guide you through the process, focusing on design, content, and user experience. Let's embark on this digital adventure together!
1. Define Your Purpose and Audience
Start by defining the purpose of your website. Is it to inform guests about the wedding details, to share your love story, or to provide a platform for RSVPs? Understanding your audience is crucial. Are they tech-savvy or would they prefer a simple, straightforward site?
2. Choose a Platform
Select a website builder that suits your needs. Popular options include Wix, Squarespace, WordPress and of course we have to be a bit bias here Tiny Time. These platforms offer a variety of templates and customization options, making it easy to create a beautiful site without extensive web development knowledge.
3. Select a Domain Name
Choose a memorable and meaningful domain name. It could be a combination of your names, the wedding date, or something unique to your story. Make sure it's easy to spell and remember.
4. Design Your Site
The design of your site should reflect the theme and style of your wedding. Use colors and fonts that align with your wedding invitations or decor. Keep the layout clean and navigation intuitive. A good user experience is key.
5. Create Engaging Content
Your website should tell your story. Include sections like "Our Story," "The Proposal," and "Meet the Wedding Party." Add photos and videos to make it more personal. Remember to keep the content updated as plans evolve.
6. Provide Essential Details
Make sure to include all the important details about the wedding. This includes the date, time, venue, dress code, and travel information. Consider adding a map or directions to help guests navigate.
7. Incorporate Interactive Features
Interactive features can enhance the user experience. Include an RSVP form to collect responses directly from the site. You could also add a guestbook where visitors can leave messages or a countdown timer to build excitement.
8. Make It Mobile-Friendly
With many guests likely to access your site from their phones, ensuring it's mobile-friendly is crucial. Test the site on various devices to ensure it looks good and functions well on all screens.
9. Optimize for Search Engines
SEO might not be your top priority, but it's worth considering. Use relevant keywords in your content and meta tags to improve your site's visibility on search engines. This can be especially helpful for guests trying to find your site online.
10. Test and Launch
Before going live, test your site thoroughly. Check for broken links, spelling errors, and any other issues. Once everything looks good, launch your site and share the link with your guests.
11. Keep It Updated
As your wedding day approaches, keep the site updated with any changes or new information. After the wedding, you can transform the site into a digital keepsake by adding photos and memories from the day.
12. Consider Privacy
Decide how much personal information you're comfortable sharing. You might want to password-protect your site or limit access to certain pages to ensure privacy.
13. Backup Your Site
Make sure to regularly back up your website. This ensures that you won't lose any precious content or memories in case of technical issues.
14. Monitor and Analyze
Use analytics tools to monitor your site's performance. This can provide insights into how visitors are interacting with your site and help you make improvements.
15. Seek Feedback
Don't hesitate to ask friends or family for feedback on your site. They might offer valuable suggestions to enhance the user experience.
Creating a wedding website can be a fun and fulfilling project. It's a way to share your love story and keep your guests informed. By following these tips and putting your heart into it, you can create a site that you and your guests will cherish.


