Birthdays are special occasions that deserve personalized touches, and what better way to show someone you care than with a thoughtfully crafted birthday card? The art of making a good birthday card goes beyond just selecting a pretty design; it involves a combination of creativity, effort, and a touch of personalization. Whether you are a seasoned crafter or a beginner, understanding the basics of birthday card making can help you create a memorable and heartfelt gift.
From choosing the right cardstock to adding embellishments and personal messages, each element plays a crucial role in making your card stand out. The goal is to make the recipient feel special and appreciated. With countless designs, techniques, and materials available, the possibilities are endless. This guide will walk you through the essentials of creating a stunning birthday card that is sure to leave a lasting impression.
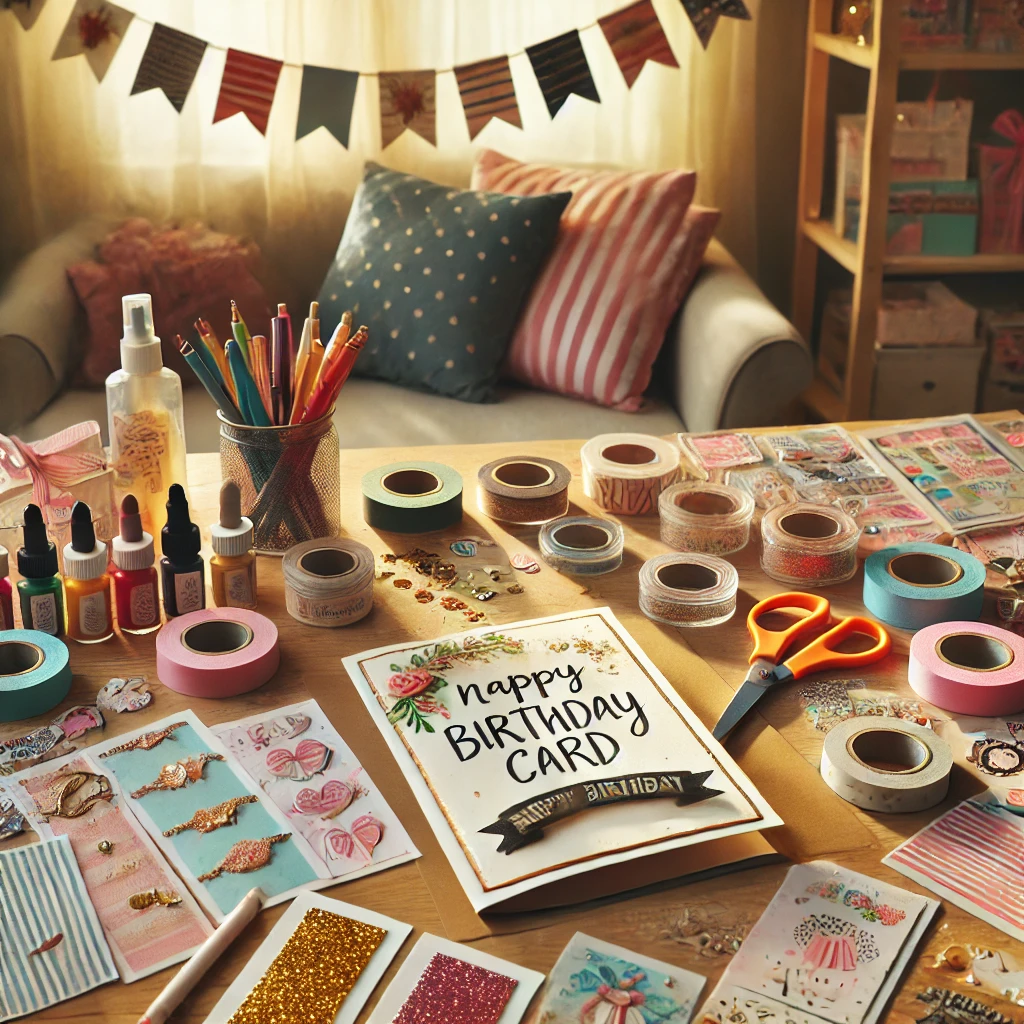
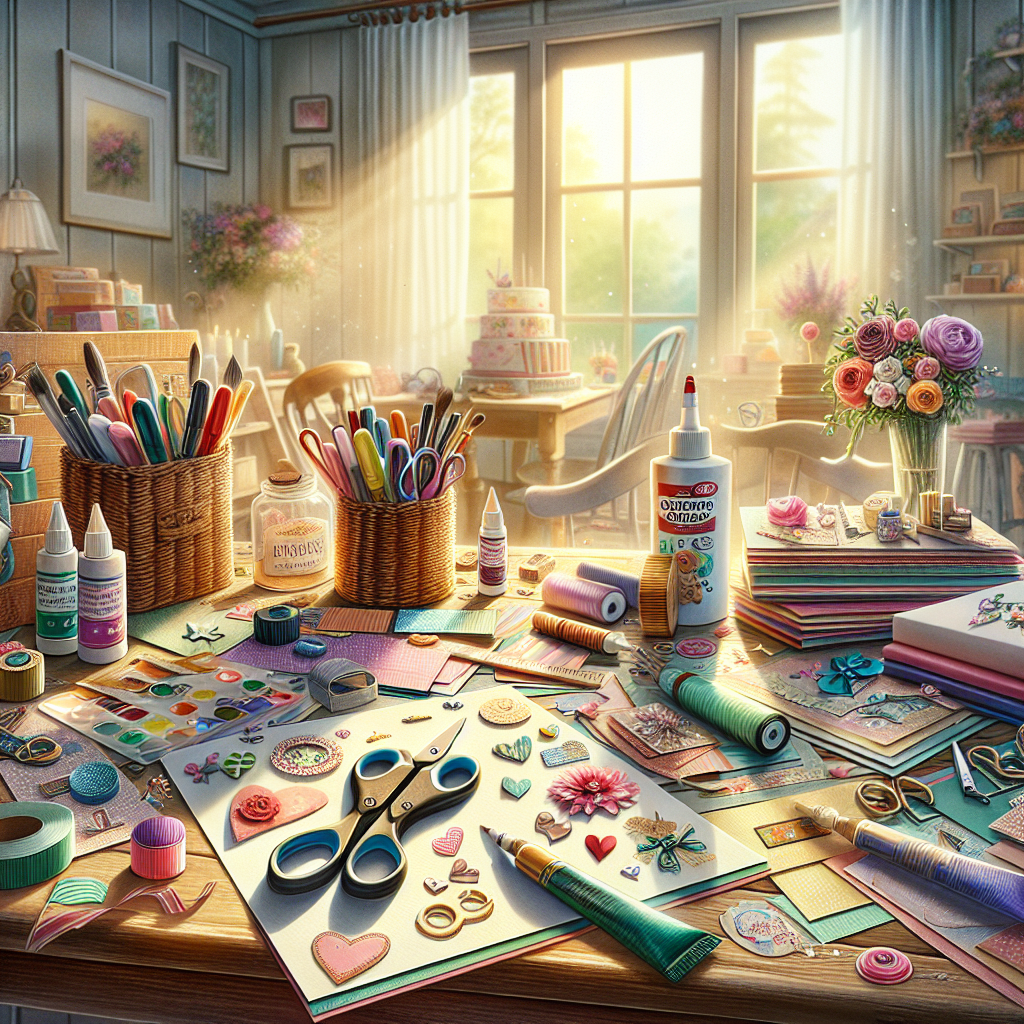
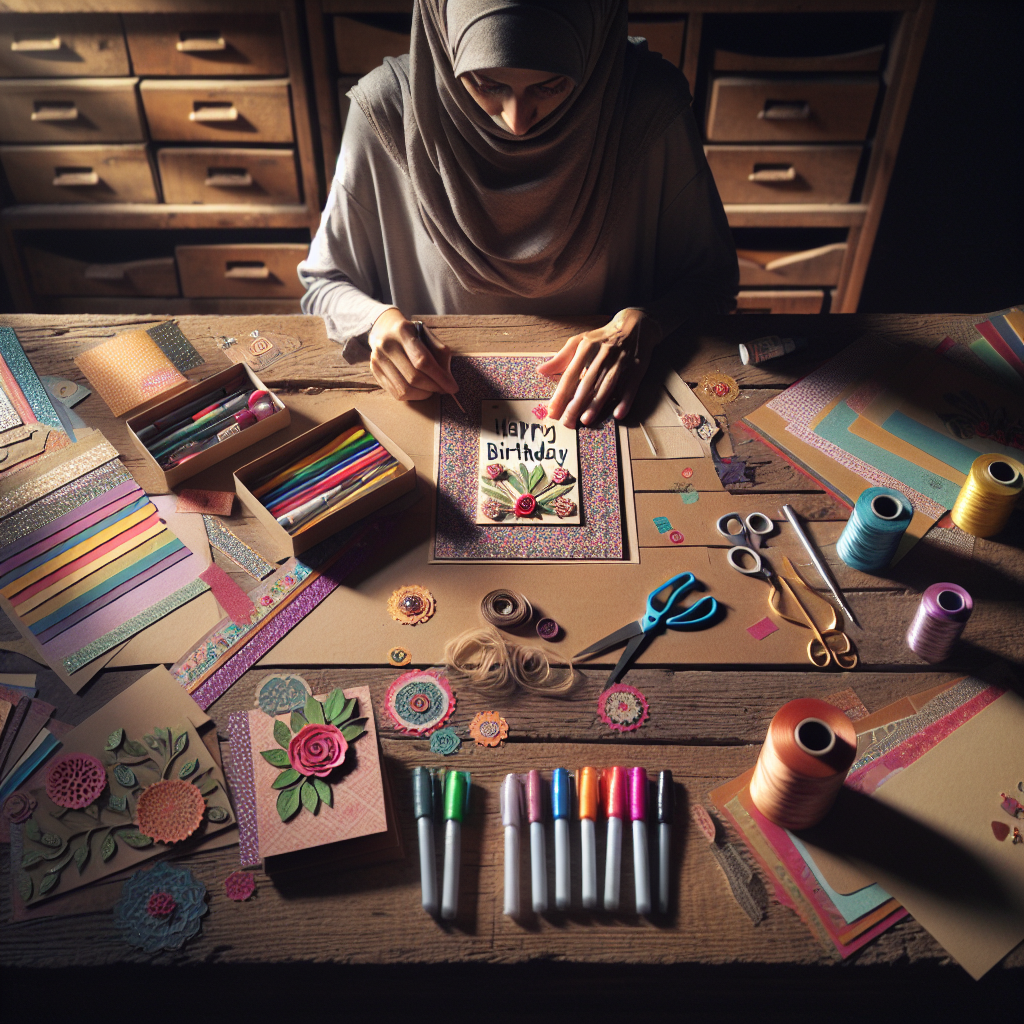
When it comes to making a good birthday card, selecting the right materials is crucial. The materials you choose will not only affect the card's appearance but also its durability and overall quality. To start, consider the type of cardstock. *Heavyweight cardstock* is ideal for a sturdy base and gives a professional feel. You can find cardstock in various colors, textures, and finishes, such as matte, glossy, or metallic, to suit the theme and recipient's preferences.
In addition to cardstock, other essential materials include *decorative papers*, *ribbons*, *stickers*, and *embellishments* like buttons, sequins, or glitter. These elements can add depth and interest to your design. Don't forget about the adhesives! *Double-sided tape*, *glue dots*, and *craft glue* are excellent choices for securing your decorations without creating a mess.
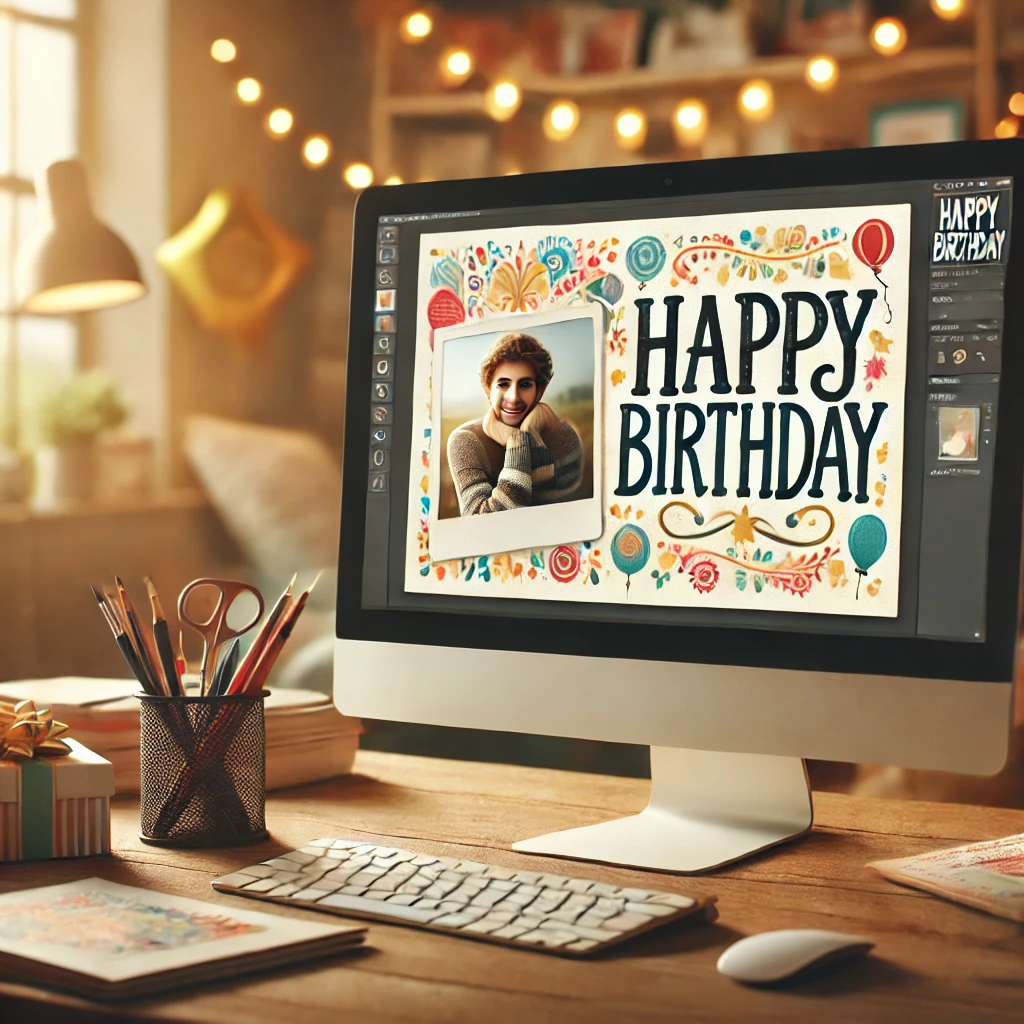
For personalized touches, consider using *stamps*, *ink pads*, and *die-cut shapes*. These tools can help you create intricate designs and unique patterns effortlessly. If you have access to a cutting machine, like a Cricut or Silhouette, you can take your card-making to the next level by creating custom cutouts and intricate designs. Finally, invest in a high-quality set of *pens* or *markers* for adding handwritten messages and finishing touches.
By carefully selecting and combining these materials, you can create a birthday card that is not only beautiful but also meaningful and memorable. Remember, the effort you put into choosing the right materials will reflect in the final product, making it a cherished keepsake for the recipient.
Designing the Card Layout
Designing the layout of your birthday card is a critical step that determines how all the elements come together. Start by deciding on the *orientation* of your card—landscape or portrait. This choice will influence your overall design and how the recipient will interact with the card.
Next, consider the *front cover*. This is where you can make a strong first impression. A well-designed front cover often features a focal point, such as a central image, a catchy phrase, or a combination of both. Think about using layers and textures to add depth. For example, a *die-cut shape* layered over patterned paper can create a striking effect.
Don't forget the *inside of the card*! This area is just as important as the front cover. Plan where your main message will go and if you'll include any additional elements like images or small embellishments. A balanced layout often includes a clean space for your handwritten message, which gives a personal touch to your card.
To ensure a cohesive look, use a *consistent color scheme and theme* throughout your card. This can be based on the recipient's favorite colors or a specific theme, such as floral, minimalist, or vintage. Consistency in design elements, like fonts and colors, helps tie the entire card together.
Lastly, consider the *balance and symmetry* of your layout. A well-balanced card is visually pleasing and easy to read. Use the rule of thirds to place elements strategically, ensuring that no part of the card feels too crowded or too empty.
By thoughtfully designing the layout of your birthday card, you can create a visually appealing and heartfelt greeting that will be appreciated and remembered.
Personalizing Your Birthday Message
Personalizing your birthday message is the heart of creating a memorable card. A personalized message goes beyond generic wishes and speaks directly to the recipient, making them feel truly special. Start by considering your relationship with the birthday person. A message to a close friend or family member can be more intimate and detailed, while a message to a coworker or acquaintance might be more formal.
Include specific details that are unique to the recipient. Mention a shared memory, a personal joke, or a particular trait that you admire. For example, you might write, *"Happy Birthday, Sarah! I'll never forget our road trip to the mountains last summer. Here's to many more adventures together!"* These personal touches show that you put thought and effort into your message.
Another way to personalize your message is to reflect on the recipient's milestones and achievements over the past year. Recognize their accomplishments, whether big or small. This not only makes your message more meaningful but also shows that you pay attention to their life events. For instance, you could write, *"Congratulations on your promotion this year, John! Your hard work and dedication are truly inspiring."*
If you’re not sure what to write, consider using quotes or sayings that resonate with the recipient. Choose a quote that aligns with their personality or interests. For example, a quote from their favorite book or a saying that matches their outlook on life can add an extra layer of personalization.
Don’t forget to include heartfelt wishes for their future. Express your hopes and blessings for the coming year. Phrases like, *"Wishing you all the happiness and success in the world,"* or *"May your year be filled with joy and laughter,"* can convey your warm sentiments effectively.
By crafting a personalized birthday message, you can turn a simple card into a cherished keepsake that the recipient will treasure for years to come.
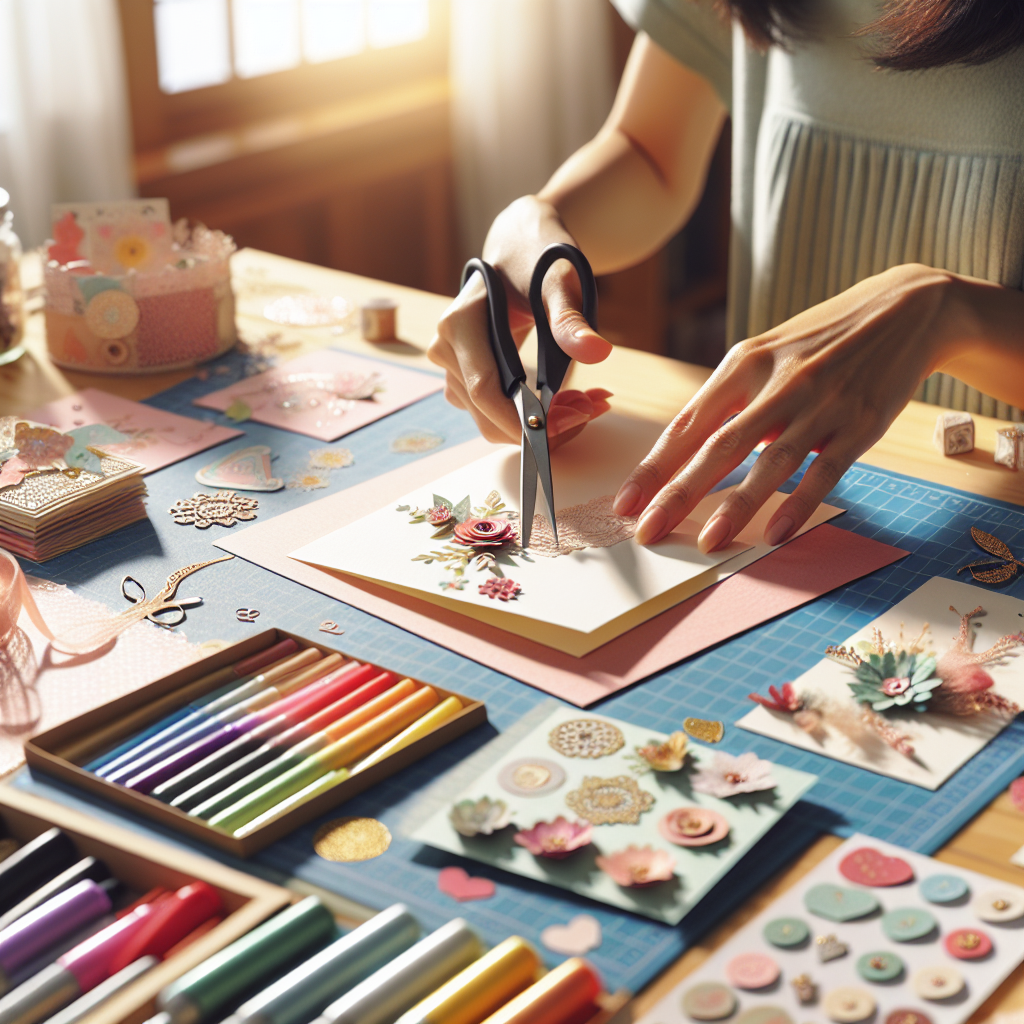
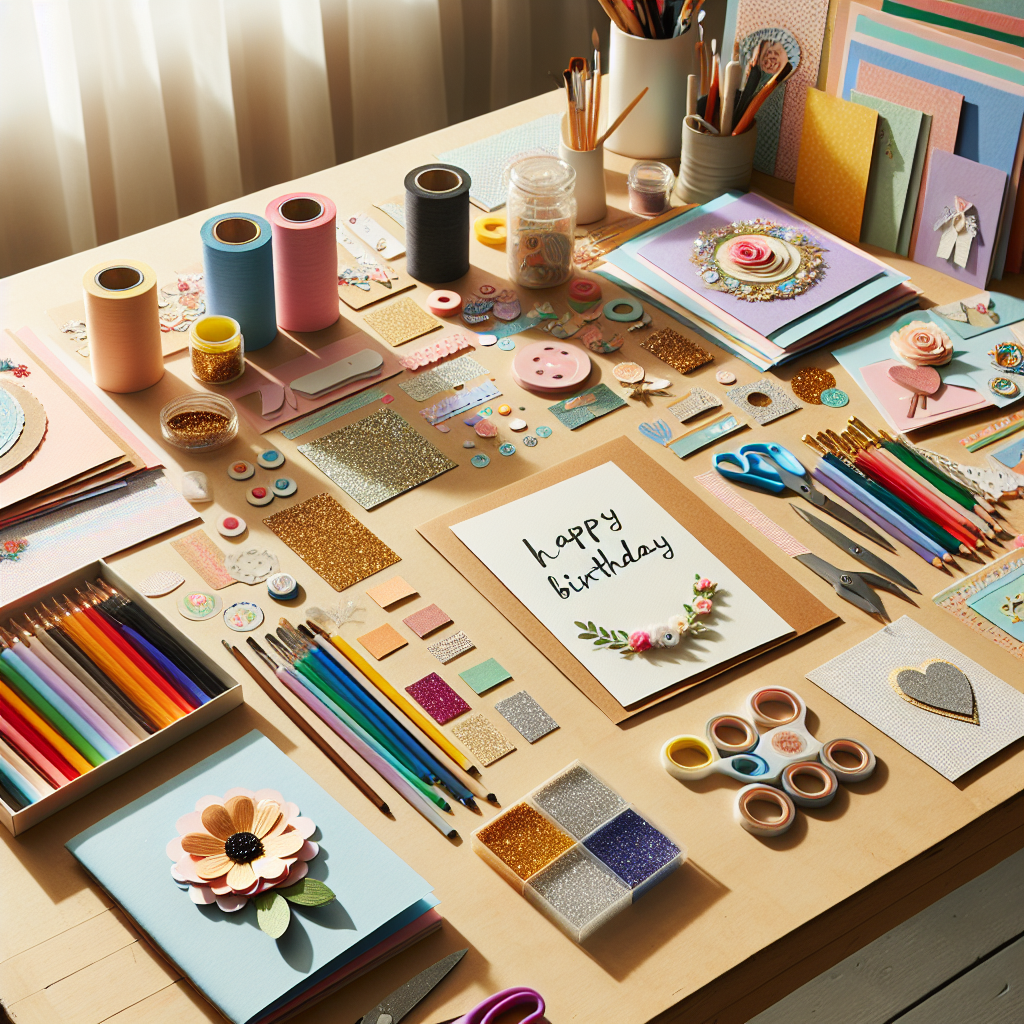
Adding Creative Decorations
Once you have your personalized message ready, it's time to add some creative decorations to your birthday card. These decorations can elevate the aesthetic appeal of your card and make it stand out. Start by considering the recipient's tastes and preferences. Do they enjoy a minimalistic design, or do they prefer something vibrant and colorful?
**Stickers and Washi Tape:** One of the easiest ways to add a touch of creativity is by using stickers and washi tape. These come in various designs, from floral patterns to quirky cartoons, and can be used to frame your message or create borders around the card. *Stickers and washi tape not only add color but also texture to your design.*
**Hand-drawn Illustrations:** If you have a knack for drawing, consider adding some hand-drawn illustrations. Even simple doodles can add a personal touch. Draw balloons, cakes, or even small portraits of the birthday person. *Hand-drawn elements make the card feel more intimate and one-of-a-kind.*
**Glitter and Sequins:** For those who love a bit of sparkle, glitter and sequins can be a great addition. Use glitter glue to add sparkly accents to your card. Be mindful not to go overboard, as too much glitter can make the card look messy. *A few well-placed sequins can add just the right amount of bling.*
**Ribbons and Bows:** Adding ribbons and bows can give your card a three-dimensional effect. You can tie a small ribbon around the card or glue a bow at the corner. Choose colors that complement the overall theme of your card. *Ribbons add a touch of elegance and can make your card look professionally crafted.*
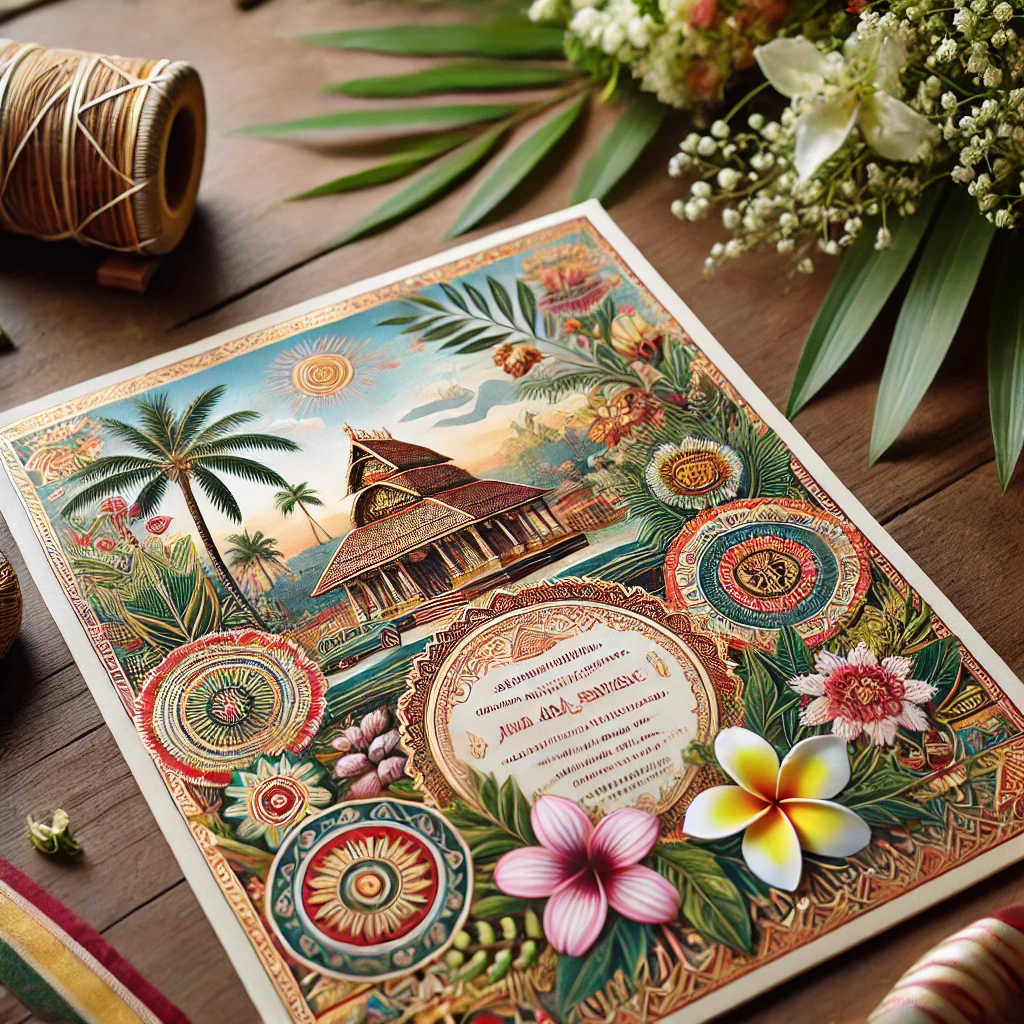
**Scrapbook Paper:** Use scrapbook paper to create layered designs. Cut out shapes or patterns and glue them onto your card for a textured look. You can also use scrapbook paper as a background for your message. *Layering different types of paper adds depth and interest to your design.*
By incorporating these creative decorations, you can transform a simple birthday card into a work of art that will be treasured by the recipient. Remember, the key is to balance creativity with personalization to make your card truly special.
Final Touches and Presentation
After you've spent time crafting a beautiful birthday card, it's essential to add those final touches that will make it truly unforgettable. *Presentation matters*, and the final details can leave a lasting impression on the recipient.
**Envelope Decoration:** Start by paying attention to the envelope. An elegantly decorated envelope sets the tone even before the card is opened. You can use stickers, stamps, or even hand-draw designs to match the theme of the card inside. Write the recipient's name in a fancy script to give it a personalized touch.
**Seal the Envelope:** Consider sealing the envelope with a wax seal or a decorative sticker. A wax seal adds an old-world charm and a sense of occasion, making the card feel more special. *Decorative stickers* can also add a fun element to the envelope, especially if they match the theme of the card.
**Insert a Small Gift:** If you want to go the extra mile, insert a small gift inside the envelope. This could be anything from a gift card to a small keepsake or even a few confetti pieces that spill out when the card is opened. *Small gestures can make a big impact.*
**Personal Note:** Add a brief, handwritten personal note on a separate piece of paper. This note can express your feelings or share a memorable moment you had with the recipient. *A personal note can elevate the emotional value of your card.*
**Ensure Neatness:** Before sealing the envelope, double-check the card for any smudges or errors. Make sure everything is neat and tidy, as these small details matter. The recipient will appreciate the effort you've put into creating a flawless card.
By focusing on these final touches and the presentation, you ensure that your card is not just seen but cherished. Remember, the little things often make the biggest difference, turning a good card into a great one.
Forgot your password? No problem. Just let us know your email address and we will email you a password reset link that will allow you to choose a new one.

