Frequently Asked Questions

  • There are multiple ways to create an event, we will show you 1 way in the method below and leave you to discover the other ways on your own. It'll be fun!

    Step 1: Visit the Home page of Tiny Time
    Step 2: Log-in/Sign-up with your credentials (use a new email and a password or use Google Log-in)
    Step 3: You'll be directed to the User Dashboard; click on the "Event Manager" from the left hand pane
    Step 4: Click on the "New Event" button on the top right-hand side
    Step 5: Type your "Event Title", Provide your "Event Details", set the time for your Event
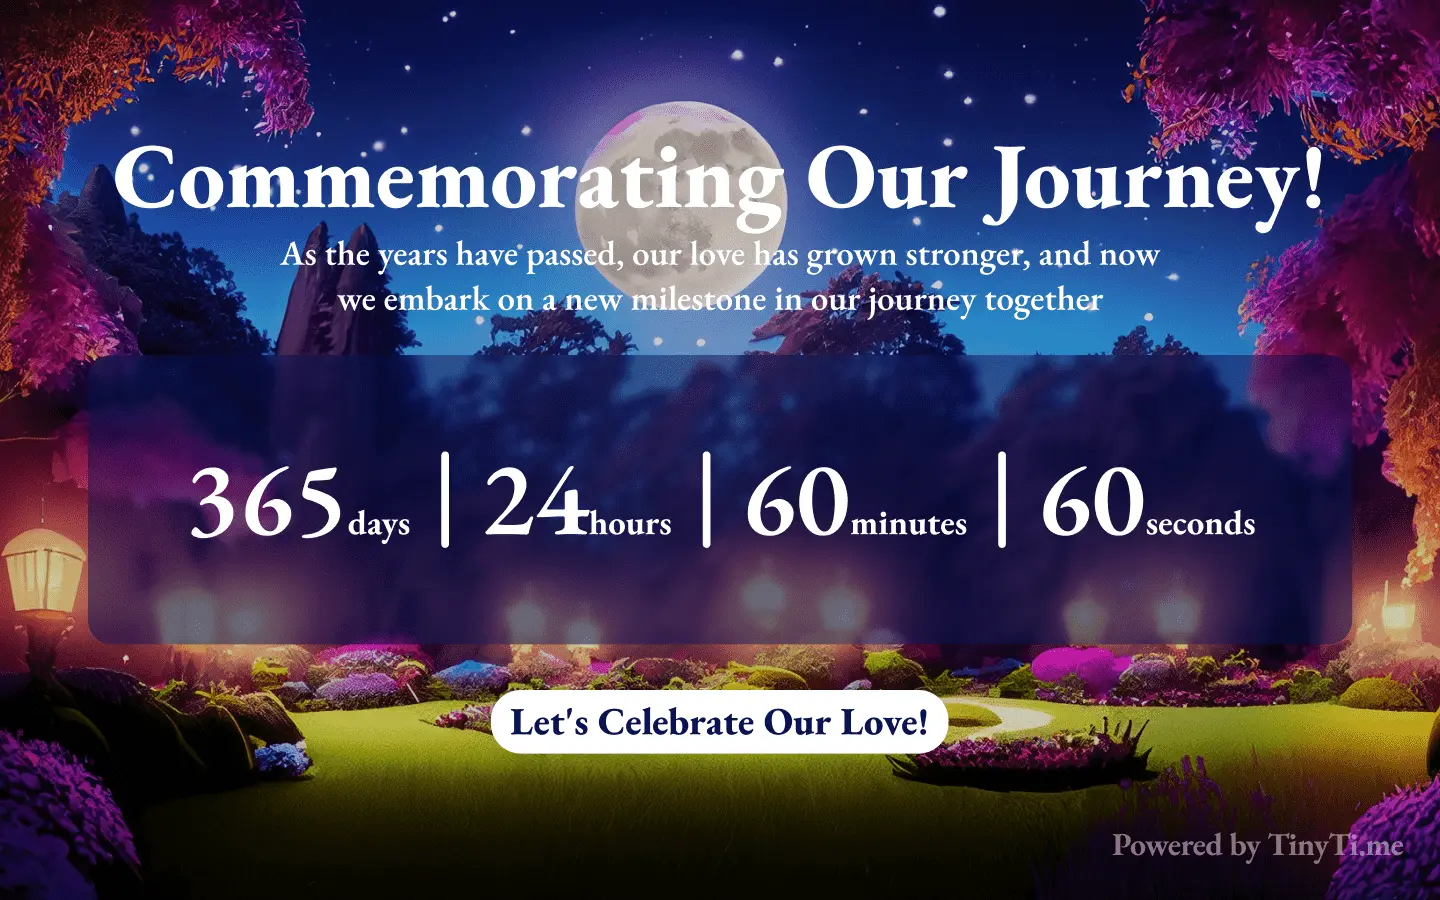
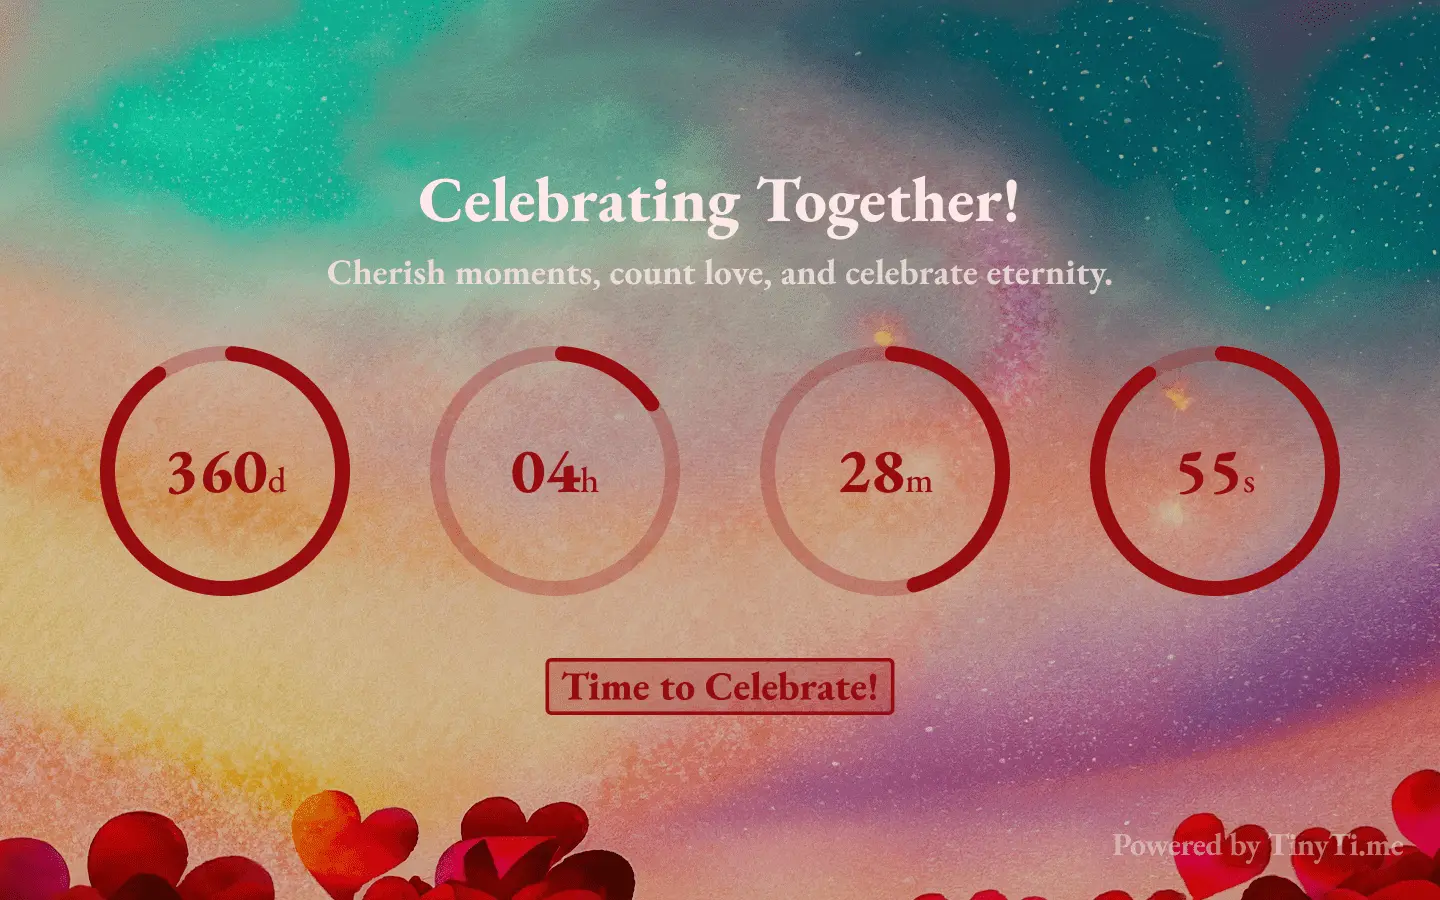
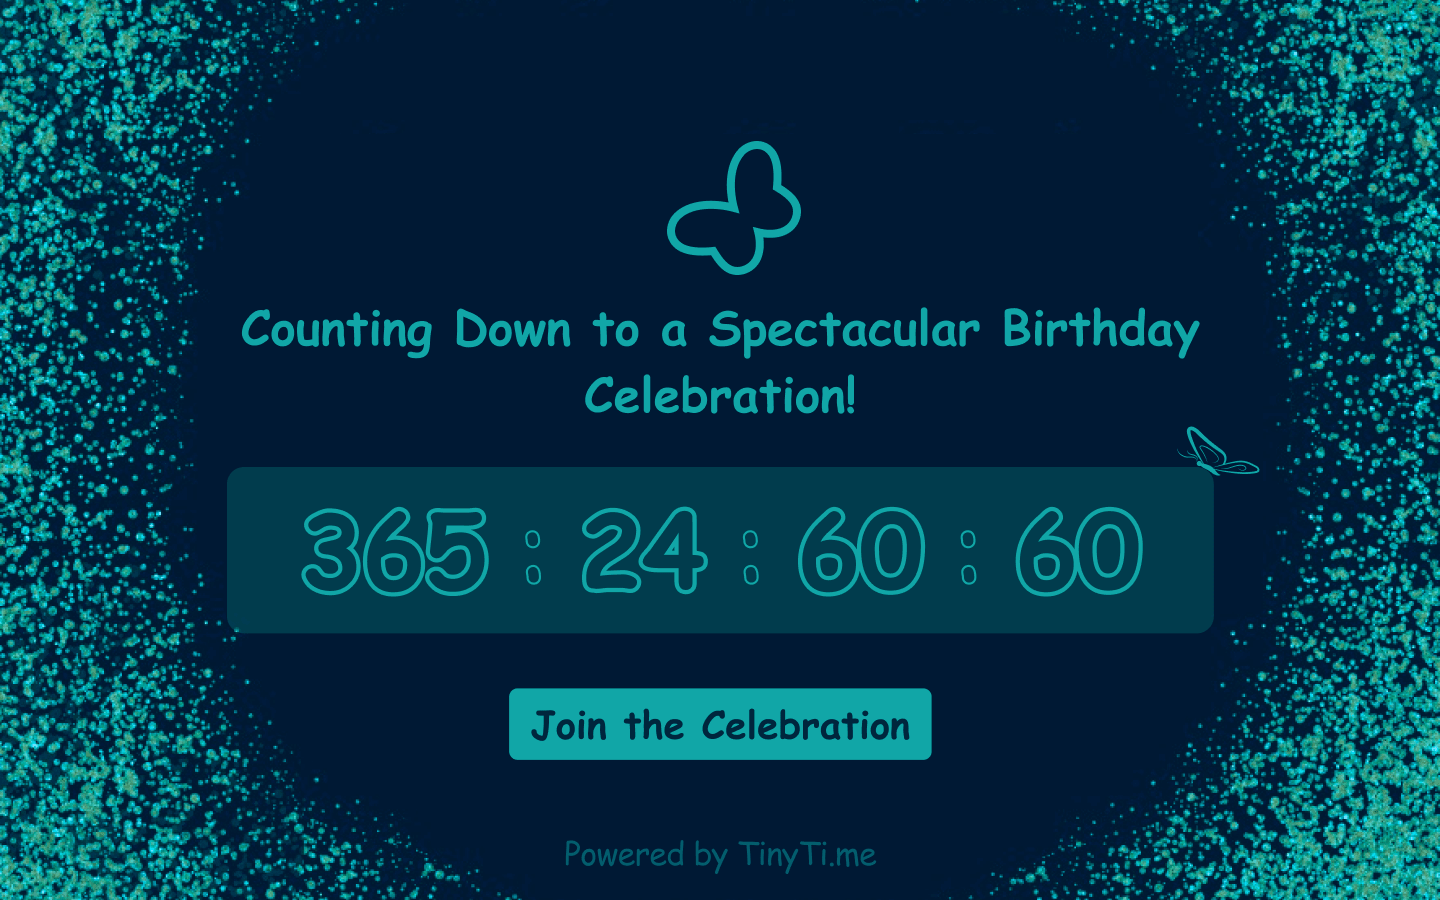
    Step 6: Chose the Template that best fits your Event theme by clicking on the left or right arrow
    Step 7: Click on the "Create" Button
    Step 8: Copy your newly created Event link or directly share it with your audience such as friends, family, coworkers or your neighbors on WhatsApp, Facebook, X (formerly Twitter)

  • Quick Timer/Counters: Allows you to create timers that are within 24 hours. Of course you can customize it and make it longer but, their most usefulness is when you use them in the present such as Cooking, Workout, Freelance work, Pick up kids, surviving in a game or to see how long you can hold your breath.

    Custom Event: Shareable Events invitations to help you promote your Birthdays, Product Launch, Live Stream, Wedding Anniversary. It comes with more advance features such as RSVP, Guestbook and custom short URLS. For people who like numbers and wants to know how many people and from where they came you get a powerful analytics tool to target the sources that gets you the highest response.